Effortless Techniques to Erase Stovetop Burn Scars
Posted on 18/05/2025
Effortless Techniques to Erase Stovetop Burn Scars
Cooking on a stovetop often brings joy and culinary adventure--but it can also lead to tough, unsightly stovetop burn scars. These burnt marks not only mar the appearance of your kitchen but can also become stubborn grime magnets. Thankfully, there are effortless stovetop cleaning techniques to remove burn marks and restore your cooktop to its sparkling best. Whether you're a daily home chef or an occasional cook, mastering these methods will save you time and frustration.
The Importance of Removing Stovetop Burn Scars
Burnt-on stains can dull the look of your stove, harbor bacteria, and even affect the appliance's performance. Additionally, leaving stovetop scorch marks unattended may result in permanent discoloration or surface degradation. Immediate and proper action helps to preserve both the cleanliness and longevity of your cooking area.

Understanding Your Stovetop Surface
Before trying any stove burn removal technique, it's vital to know your stovetop's material--whether it's ceramic, glass, enamel, or stainless steel. Using the wrong cleaning method might worsen the burn scars or scratch your cooktop. Always consult your appliance manual before beginning!
- Glass and Ceramic Surfaces: Require gentle, non-abrasive cleaning tools.
- Enamel: Can handle stronger cleaners but avoid metal scouring pads.
- Stainless Steel: Needs non-scratching pads and direction-specific wiping.
Common Causes of Stovetop Burn Scars
To truly master how to erase stovetop burn scars, you should understand how they develop. Here are a few causes:
- Spilled food left to bake onto the surface
- High heat causing pans to scorch the surface directly
- Using inappropriate cookware that leaves marks
- Overflows of sugary substances that caramelize and burn
Regular maintenance and vigilance are key to preventing future stovetop burn stains, but for the marks you already have, read on for effortless solutions.
Effortless Methods to Remove Burnt Stains and Scars
Choose a technique below based on the severity and age of the mark, as well as your cooktop surface.
1. Baking Soda and Vinegar Paste
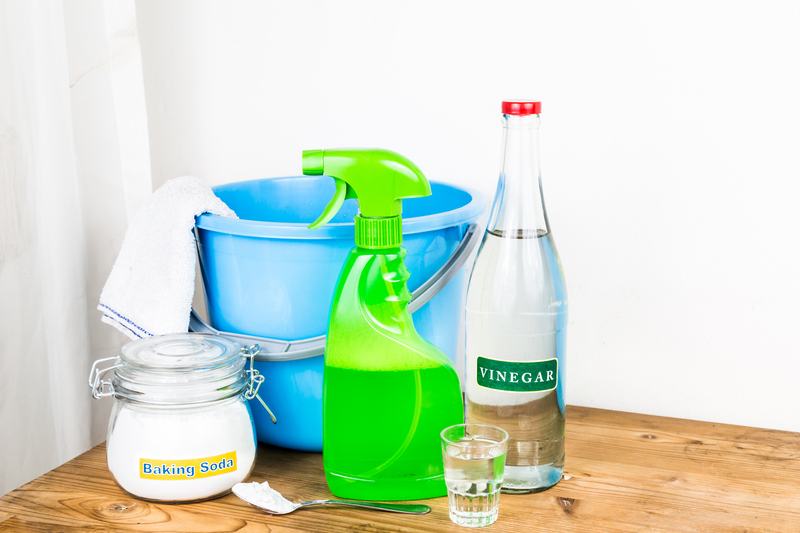
A time-honored cleaner for erasing stubborn stove burn marks is the classic combo of baking soda and vinegar. Here's how to use it:
- Sprinkle a generous amount of baking soda over the cooled burn scars.
- Pour a small amount of white vinegar on top, allowing it to fizz and bubble.
- Let it sit for 10-15 minutes to break down the burnt material.
- Wipe away gently with a soft damp cloth. Avoid anything abrasive.
- If residue remains, repeat or increase soaking time.
This solution is safe for most glass and ceramic cooktops. For persistent marks, apply a little more elbow grease, but never use a steel wool pad.
2. Razor Blade Scraper for Glass Cooktops
For glass stovetops, a razor blade scraper can work wonders. Follow these steps to safely remove burnt stains from glass cooktop surfaces:
- Ensure the surface is completely cool to avoid cracks or burns.
- Hold the blade at a 45-degree angle and gently scrape the burned area.
- Wipe residue and repeat as needed. Never gouge or dig into the glass.
- Once the scar is gone, clean with a damp cloth and dry thoroughly.
Caution: Never use this method on enamel or non-glass surfaces to prevent scratching.
3. Commercial Stovetop Burn Removers
Many companies offer specialized stovetop burn scar removers designed for tough stains----think Cooktop Cleaner Creams or Enamel Polishing Powders. Always follow the manufacturer's instructions, and test on a small, inconspicuous area first.
- Apply cleaner following package directions.
- Allow the cleaner to sit for the designated time to soften the burnt residue.
- Use the recommended scrubbing pad, then wipe with a clean, damp cloth.
These products are formulated for effortless stove scar removal and offer strong results with less manual labor, especially on long-neglected stains.
4. Lemon Juice and Salt Scrub
This natural remedy is great for discoloration and tough burn marks on both glass and metal stoves.
- Sprinkle salt over the stain.
- Squeeze fresh lemon juice over the salt and let it sit for 10 minutes.
- Use a soft sponge to gently scrub the area in circular motions.
- Wipe clean with a damp cloth and buff with a dry one.
The mild acid of lemon, paired with salt's abrasiveness, lifts burns effortlessly while leaving a fresh scent.
5. Dish Soap & Hot Water Soak for Grates and Removable Parts
Often, stovetop grates and burner covers develop tough scorch marks. For these:
- Fill your sink with hot water and a generous squirt of grease-cutting dish soap.
- Soak the grates or covers for 30-45 minutes.
- Use a soft brush or non-abrasive pad to remove loosened marks.
- Rinse thoroughly and let dry before replacing.
For extra-stubborn marks, try sprinkling baking soda on the wet soaked surfaces before scrubbing.
Pro Tips to Prevent Future Stovetop Burn Scars
While learning how to get rid of stovetop burn marks is essential, prevention is even better! Follow these tips to keep your stove looking pristine:
- Wipe up spills immediately--the longer they sit, the harder they bake on.
- Use pans designed for your stovetop type. Heavy, smooth-bottom pans are ideal.
- Keep burner drip pans clean to prevent overflow burns.
- Regularly clean with a mild cleaner after every use, not just after spills.
- Invest in glass stovetop protectors or liners for added protection.
- Avoid dragging cookware across the surface.
What Not To Do When Cleaning Stovetop Burn Scars
- Avoid steel wool or harsh pads that may permanently scratch surfaces.
- Never use oven cleaner on glass or ceramic cooktops.
- Don't pour cold water on a hot surface--thermal shock could crack it.
- Don't forcefully chip or gouge at tough marks; be patient and repeat gentle methods.
Homemade Stovetop Burn Scar Removers
If you prefer DIY solutions, there are several homemade mixtures that offer effortless burn scar removal for stovetops:
Baking Soda & Hydrogen Peroxide Paste
- Mix baking soda with a few drops of hydrogen peroxide until a thick paste forms.
- Apply over burn scars and leave for 10-15 minutes.
- Wipe gently with a soft, damp cloth.
Cream of Tartar Polisher
- Mix cream of tartar with water to form a paste.
- Spread over the stain and sit for 10 minutes.
- Scrub gently and wipe clean.
These natural cleaning agents are especially good for delicate surfaces and regular maintenance.
Restoring Shine After Burn Mark Removal
Once your burnt stovetop scars are gone, finish the job by restoring your cooktop's original luster:
- Use vinegar and water (1:1 ratio) in a spray bottle; mist and polish with a microfiber cloth.
- For glass and ceramic stoves, a dab of olive oil buffed in with a soft cloth can give a professional shine.
This step gives your kitchen a spotless, gleaming look and makes future cleaning easier.

Frequently Asked Questions
Can I use Magic Erasers to erase stovetop burn scars?
*Magic Erasers* are mildly abrasive and work on many surfaces. However, test first on a hidden area to ensure it doesn't dull or scratch your stove's finish.
How often should I clean my stovetop to avoid burns and stains?
It's best to wipe down your stovetop after each use and deep-clean using the above methods once a week or whenever you spot tougher marks.
Are there stovetop burn marks that can't be removed?
Some very old, deep stovetop scorch scars may have permanently altered the surface, especially on enamel or glass stoves. In these cases, you can minimize their appearance, but full removal may not be possible.
Conclusion: Make Stovetop Burn Scar Removal Effortless
With these effortless stovetop cleaning and burn mark removal methods, you don't need to stress over stubborn stains. Remember to match your cleaning approach to your specific stovetop and always prioritize gentle, consistent care over harsh scrubbing. Armed with baking soda, vinegar, and a little patience, you can erase even the toughest burn scars on your stove and revive your kitchen's proud sparkle.
Are you ready to see your stove shine once again? Start using these simple, effective techniques today--and enjoy a beautiful, burn-free cooking space!
```Latest Posts
Practical Tips for Eradicating Damp Scents
High-Performance Carpet Cleaning Gear You Need
On-the-go efficiency: top window cleaning techniques to try
Sparkling Enamel: Simple Strategies for Cleaning Trays Without Grease
Wave Farewell to Furry Carpet Mess: 10 Pro Tips for Removing Dog Hair


